-
Now live! Generate even more savings with our Skygate system. Click here to learn more.

On this page
- What Installers Assess Before Installation
- What Happens Before Installation Begins
- Step-By-Step Air Source Heat Pump Installation Process
- What Homeowners Need To Do Before Installation
- Typical Installation Costs And What Affects Them
- How Long Installation Takes From Start To Finish
- How Upvolt Helps Homeowners Manage Heat Pump Installation
- Let’s Recap
- About Upvolt
- FAQ
Boiler Upgrade Scheme
13 mins read
Air Source Heat Pump Installation: What To Expect
13 May 2026What happens before, during and after air source heat pump installation.
Take the first step toward energy independence today.
get a quote
On this page
- What Installers Assess Before Installation
- What Happens Before Installation Begins
- Step-By-Step Air Source Heat Pump Installation Process
- What Homeowners Need To Do Before Installation
- Typical Installation Costs And What Affects Them
- How Long Installation Takes From Start To Finish
- How Upvolt Helps Homeowners Manage Heat Pump Installation
- Let’s Recap
- About Upvolt
- FAQ
Installing an air source heat pump isn’t just a simple upgrade; it’s a structured process that determines how well your system performs for years to come. From initial surveys to final commissioning, every step plays a role in efficiency, reliability, and long-term savings.
This guide breaks down exactly what to expect, including timelines, preparation, costs, and how the Boiler Upgrade Scheme can reduce your upfront investment.

13 min read
On this page
- What Installers Assess Before Installation
- What Happens Before Installation Begins
- Step-By-Step Air Source Heat Pump Installation Process
- What Homeowners Need To Do Before Installation
- Typical Installation Costs And What Affects Them
- How Long Installation Takes From Start To Finish
- How Upvolt Helps Homeowners Manage Heat Pump Installation
- Let’s Recap
- About Upvolt
- FAQ
Key Takeaways
- Most air source heat pump installations take 3–5 days, but planning and approvals can take 1–2 weeks or longer.
- Preparation matters, clearing space, planning for disruption, and ensuring access helps avoid delays and keeps installation on track.
- Costs typically range from £7,000–£10,000 before grants, with the Boiler Upgrade Scheme reducing upfront spend by up to £7,500 (if eligible).
- System design and installation quality have the biggest impact on performance, efficiency, and long-term savings.
What Installers Assess Before Installation
Before a heat pump is installed, your home needs to pass a detailed assessment. This is not just a quick check. It is what determines whether your system will perform efficiently, keep your home warm, and deliver real long-term savings.
A proper assessment ensures the system is designed specifically for your property, not just installed as a one-size-fits-all solution.
Heat Loss and Property Performance
The first and most important step is calculating how much heat your home loses. This tells the installer exactly how much energy is needed to keep each room comfortable, even in winter.
They will assess insulation, windows, and overall thermal performance. Homes that retain heat well require smaller, more efficient systems, while poorly insulated homes may need improvements before installation.
Heating System Compatibility
Heat pumps operate at lower temperatures than traditional boilers, so your existing system needs to be suitable.
Installers will check your radiators or underfloor heating to make sure they can deliver enough warmth. If they are undersized or inefficient, upgrades may be recommended to ensure consistent heating throughout your home.
Electrical and Space Requirements
A heat pump relies on your home’s electrical system, so safety and capacity are essential. Your installer will inspect your consumer unit and confirm it can support the new system.
They will also identify suitable locations for both indoor and outdoor units, ensuring proper airflow, accessibility, and minimal disruption.
Why This Assessment Matters
These checks directly impact how well your system performs day-to-day.
A properly assessed and designed system will:
- heat your home more efficiently
- reduce running costs over time
- avoid common performance issues
Skipping or rushing this stage often leads to poor results, which is why it is one of the most important parts of the entire process.
What Happens Before Installation Begins
Once your home is confirmed as suitable, the process moves into planning and preparation. This stage ensures everything is ready before installation starts, helping avoid delays and unexpected costs.
Property Survey and System Design
An installer will carry out a full home survey to finalise the system design. This includes choosing the right unit size, positioning equipment, and ensuring even heat distribution across your home.
In most cases, planning permission is not required, as installations fall under permitted development. Your installer will confirm this and handle any necessary checks.
Preparing Your Home
Before installation, your home may need a few adjustments to ensure the system performs properly. This can include improving insulation, upgrading radiators, or making space for the outdoor unit.
These steps are not about adding complexity. They are what make the difference between a system that works and one that works well.
Confirming a Certified Installation
To qualify for the Boiler Upgrade Scheme, the system must be installed by an MCS-certified professional.
Your installer will manage the technical requirements, paperwork, and compliance. This ensures your system meets standards and your grant can be successfully applied.
Step-By-Step Air Source Heat Pump Installation Process
Upgrading to an air source heat pump isn’t a one-size-fits-all process. While many installations are completed within a few days, the exact timeline depends on your property, existing system, and any required upgrades.
What matters most is getting the design and installation right. Here’s what typically happens.
Day 1: Preparation And Removal Of Existing System
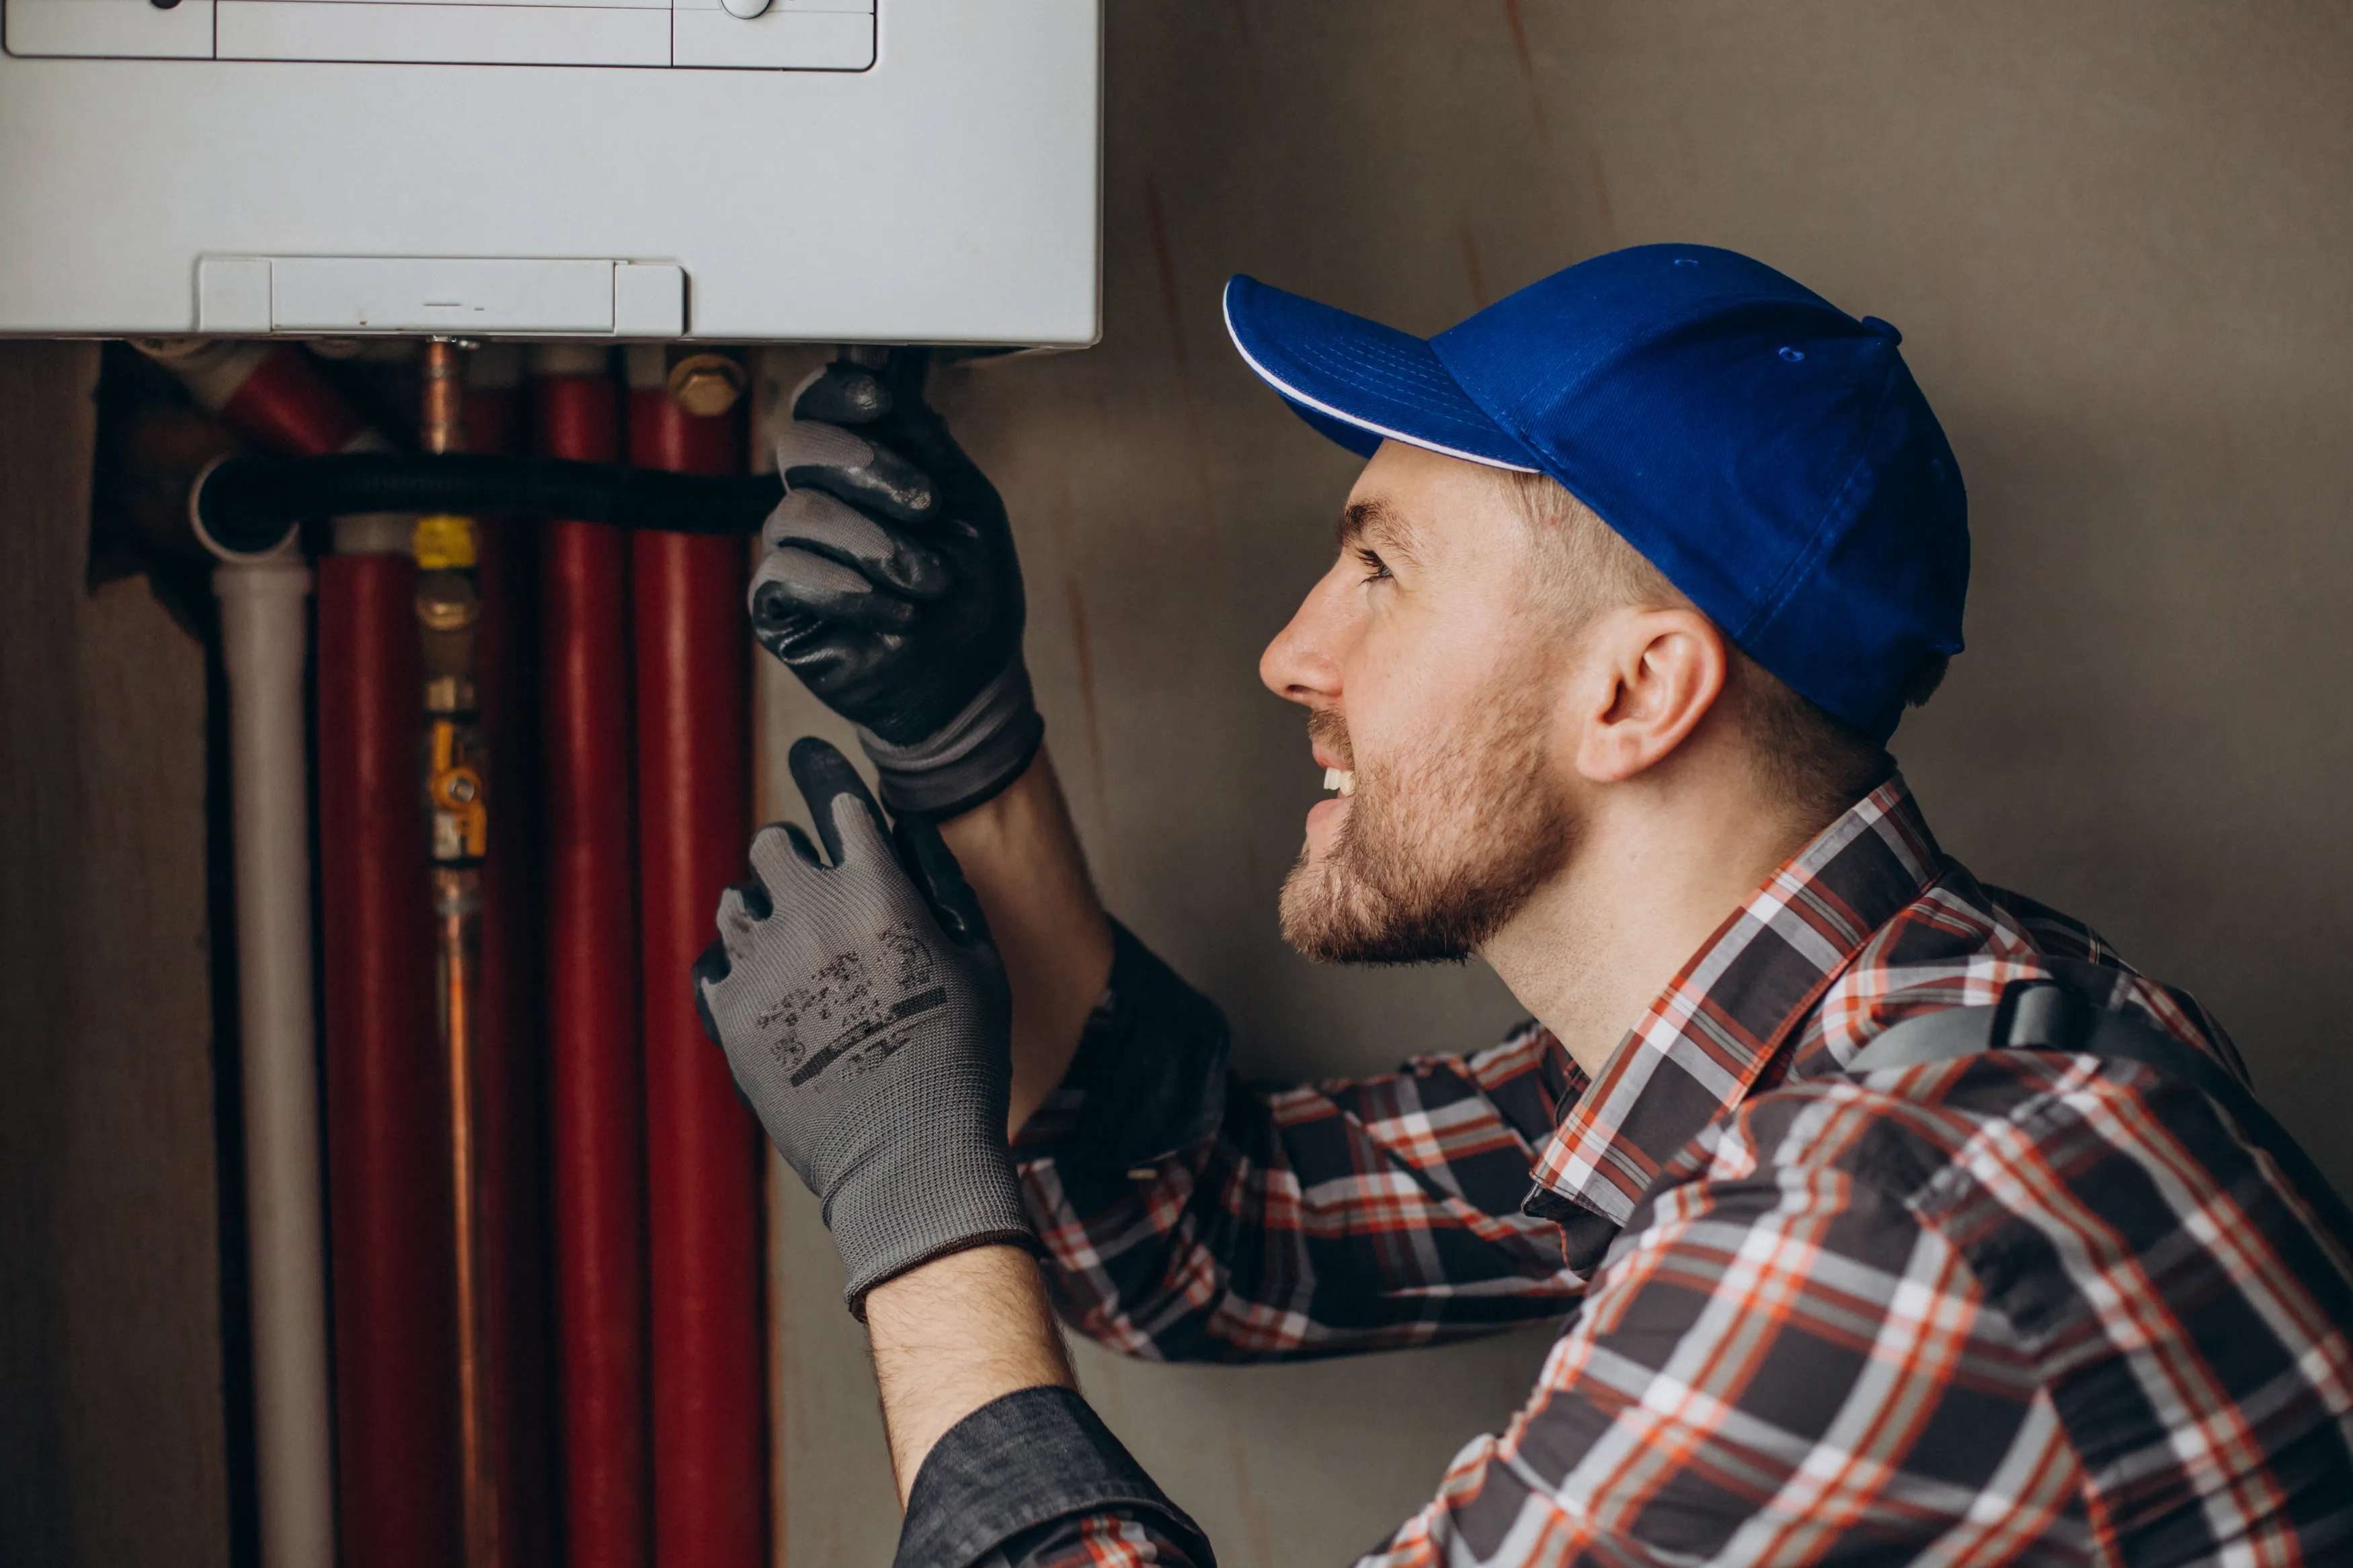
The first stage focuses on preparing your home for the new system. Your installer will safely remove the existing boiler and begin making space for new components.
This can include adjusting pipework, preparing the location for a hot water cylinder, and ensuring the system layout is ready for efficient operation. In some homes, minor upgrades, such as pipe adjustments or access work, may also be carried out at this stage.
Day 2: Installing The Heat Pump And Core Components
The outdoor heat pump unit is installed and securely mounted in a suitable location with proper airflow. Inside the property, the hot water cylinder and key system components are fitted.
Pipework connections are then completed between indoor and outdoor units. This stage is critical, as correct installation directly affects system efficiency, performance, and long-term reliability.
Day 3: System Setup, Testing, And Commissioning
Once installation is complete, the system is connected to your electrical supply and fully configured. A qualified installer will carry out detailed testing to ensure everything is operating safely and efficiently.
This includes checking heating output, hot water performance, and system controls. You’ll also be shown how to use the system so you can get the most out of your new setup from day one.
Typical Installation Overview
While timelines can vary, most standard installations follow a structure similar to this:
| Stage | Focus | Key Tasks |
| Preparation | System removal | Remove old boiler, prepare pipework |
| Installation | Core setup | Install heat pump, cylinder, connections |
| Commissioning | Final checks | Electrical setup, testing, optimisation |
What Homeowners Need To Do Before Installation
A smooth heat pump installation doesn’t start on the day your system arrives; it starts with preparation. Taking a few simple steps beforehand helps avoid delays, reduces disruption, and ensures your system is installed as efficiently as possible.
Done properly, this stage can save time, prevent complications, and keep your project on track from day one.
Preparing Indoor And Outdoor Spaces
Your heat pump needs the right environment to perform efficiently. Outside, the unit requires clear airflow and enough space to operate without obstruction.
Before installation, clear the designated area of garden furniture, overgrown plants, or debris. Inside, ensure the location for components like the hot water cylinder is accessible and ready. A clean, organised space doesn’t just help installation, it also improves long-term performance and ease of maintenance.
Planning For Temporary Heating Disruption
During installation, your heating and hot water will be temporarily switched off. While this is usually short-lived, planning ahead makes it far easier to manage.
If possible, schedule installation during milder weather to minimise disruption. For added comfort:
- Keep a kettle or alternative hot water source available
- Use portable electric heaters if needed
- Ensure your home retains heat well with basic insulation checks
A little preparation here can make the transition far more comfortable.
Ensuring Access For Installation Work
Installers need clear, safe access to move equipment and complete the work efficiently. Tight or cluttered spaces can slow progress and increase installation time.
Clear hallways, doorways, and access routes in advance, and make sure both indoor and outdoor work areas are easy to reach. The simpler the access, the faster your system can be installed and commissioned.
Typical Installation Costs And What Affects Them
Installing a heat pump is a significant investment, but one that delivers long-term savings, improved efficiency, and greater energy independence. Understanding the cost upfront helps you plan realistically and avoid surprises.
Average Cost Range Before Grant (£7,000–£10,000)
Most air source heat pump installations in the UK fall between £7,000 and £10,000 before any government support is applied. This typically includes the unit itself, removal of your existing boiler, and full installation.
While this may seem high, it reflects a complete system upgrade designed to reduce long-term energy costs and improve overall home efficiency.
How The Boiler Upgrade Scheme Reduces Your Cost
The Boiler Upgrade Scheme significantly lowers the upfront cost by offering a £7,500 grant for air source heat pumps, provided your property meets the eligibility criteria.
This grant is applied directly through your installer, meaning you only pay the remaining balance rather than the full installation cost upfront. For many homeowners, this makes switching to low-carbon heating far more accessible and financially viable.
Key Factors That Change Final Pricing
No two homes are the same, and your final cost depends on how much work is needed to make the system perform efficiently.
Common factors that influence pricing include:
- Upgrading radiators to improve heat output
- Modifying or replacing existing pipework
- Installing underfloor heating for better efficiency
- Removing old gas or oil infrastructure
- Improving insulation to support system performance
Stay Connected with Upvolt
Get the latest updates on energy innovations, smart solutions, and exclusive offers.
How Long Installation Takes From Start To Finish
Installing an air source heat pump is a structured process designed to ensure your system performs efficiently from day one. While timelines vary by property, most projects follow a clear sequence from initial survey to final handover.
Planning And Approval Timeline
Every installation begins with a detailed assessment of your home. Your installer will carry out a full site survey, including heat loss calculations, insulation checks, and system design to ensure the heat pump is correctly sized and configured.
Depending on your setup, this stage may also include approvals such as DNO notifications or compliance checks. While this can take a little time, it’s important for ensuring your system is safe, efficient, and fully compliant with UK regulations.
Installation Duration
Once everything is approved, the physical installation typically takes around 3 to 5 days for a standard property.
During this time, your old heating system is removed, the outdoor heat pump unit is installed, and internal components like the hot water cylinder and pipework are fitted. The exact duration depends on factors such as system complexity, access, and any upgrades required.
Post-Installation Setup And Handover
After installation, the system is carefully tested, configured, and optimised. This includes system balancing to ensure consistent heating throughout your home and efficient operation.
You’ll then receive a full handover, where your installer explains how to use the controls, optimise settings, and maintain performance. By the time they leave, you’ll be confident running your new system and getting the most from it.
Typical Project Timeline
To give you a clearer picture, most installations follow a structure like this:
| Project Phase | Estimated Time | Key Activity |
| Planning & Survey | 1–2 weeks | Heat loss calculations & system design |
| Approvals | Variable | DNO notification / compliance checks |
| Installation | 3–5 days | Unit fitting, pipework, setup |
| Commissioning | 1 day | Testing, optimisation, safety checks |
| Handover | 1–2 hours | Controls, guidance, documentation |
How Upvolt Helps Homeowners Manage Heat Pump Installation
Installing a heat pump isn’t just about replacing a boiler; it’s about getting the design, installation, and setup right so your system actually delivers savings and performance. Without the right expertise, it’s easy to overspend, underperform, or run into compliance issues.
Upvolt removes that risk by managing the entire process, turning a complex upgrade into a smooth, fully guided experience.
Handling Surveys And System Design
Everything starts with accuracy. Upvolt carries out a detailed property survey, analysing insulation levels, heat loss, and how your home actually uses energy.
This isn’t a generic recommendation; it’s a system designed specifically for your property. The result is a heat pump that’s correctly sized, properly configured, and built to perform efficiently from day one.
Managing MCS-Compliant Installation
Upvolt works with fully MCS-certified installers to ensure every system meets strict UK standards for safety, efficiency, and reliability. From pipework to final setup, every detail is handled correctly, reducing the risk of faults, inefficiencies, or future issues.
Coordinating The Grant Application Through The Boiler Upgrade Scheme
Upvolt manages the entire process for you, from eligibility checks to submission and approval. The grant is applied directly to your installation cost, meaning you benefit from reduced upfront costs without dealing with complex paperwork.
Ensuring Smooth Installation And Handover
A successful installation doesn’t end when the system is fitted, it ends when you’re confident using it.
Upvolt ensures a structured handover, where you’re guided through system controls, settings, and maintenance. This means you can start using your heat pump efficiently straight away, with full confidence in how it operates.
Let’s Recap
A successful heat pump installation is about more than just fitting equipment; it’s about getting every stage right. From accurate system design and proper preparation to compliant installation and final setup, each step directly affects how your system performs.
With the right planning and support, the process is straightforward, predictable, and designed to deliver long-term value. When everything is done correctly, you end up with a system that reduces energy costs, improves efficiency, and future-proofs your home.
About Upvolt
Installing a heat pump is a major upgrade, and the difference between a good system and a great one comes down to how well it’s planned and installed. Upvolt manages the entire process for you, from initial survey and system design to installation and final handover.
You get a system tailored to your home, installed by certified professionals, and fully compliant with UK standards. That means better performance, fewer issues, and confidence that your investment is delivering real results.
If you’re planning a heat pump installation or want to understand your options, get in touch with Upvolt today for a tailored assessment and clear next steps.
FAQ
How exactly do air source heat pumps work to provide heating and hot water?
Air source heat pumps extract heat from the outside air, even in cold temperatures, and use electricity to raise it to a usable level. This heat is then transferred into your home’s heating system and hot water cylinder. They’re highly efficient because they move heat rather than generate it directly.
What should I expect during the initial property assessment?
An installer will assess your home’s heat demand, insulation, and existing heating system. This includes checking radiators, pipework, and electrical capacity. They’ll also identify the best location for the outdoor unit and highlight any upgrades needed for optimal performance.
Do I need to apply for planning permission before I get a heat pump installed?
In most cases, air source heat pumps fall under permitted development and don’t require planning permission. However, there are rules around size, placement, and proximity to neighbouring properties. Your installer will confirm whether your installation meets these requirements.
How long does the air source heat pump installation process take?
The physical installation usually takes around 3 to 5 days for a standard home. This includes removing the old system, installing the new unit, and completing all connections. Additional time may be needed beforehand for design, approvals, or upgrades.
Will I need to replace my existing radiators or install underfloor heating?
Not always, but some homes require larger radiators to work efficiently with a heat pump. Heat pumps run at lower temperatures than traditional boilers, so heat distribution is important. Underfloor heating can improve efficiency, but it is optional depending on your property.

Alex Lomax
CEO & Co-Founder
Share article


Share article